Workgroup
Get to know more about creating a new workgroup and inviting participants.
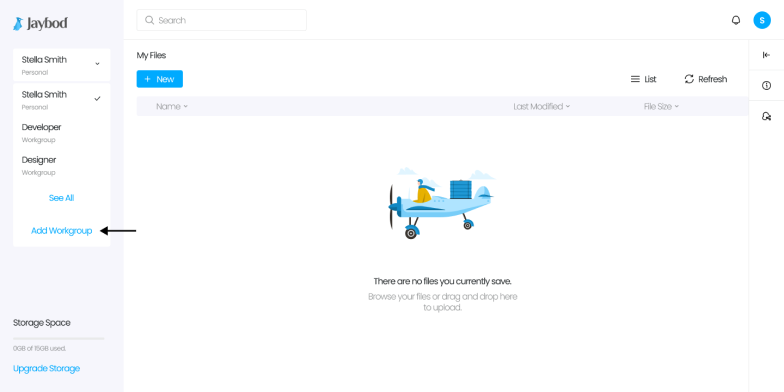
a. Go to ‘Personal’ once you have an account.

b. Select ‘ Add Workgroup’.
c. Enter group name and description.

d. Enter the participant’s email address and click down arrow in box next to file to change file access for the recipient or you can simply skip this part. Type ‘Enter’ afterwards.

e. Click .Send Invitation’.

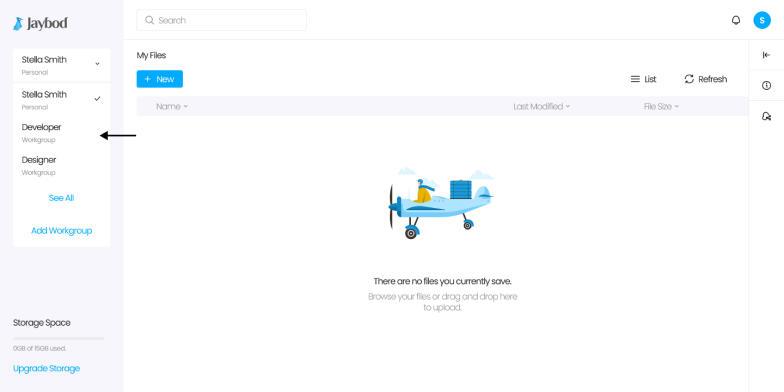
a. You can directly invite participants to your group in the process of creating group. If you want to add more participants, you can go to Personal and select your Workgroup.
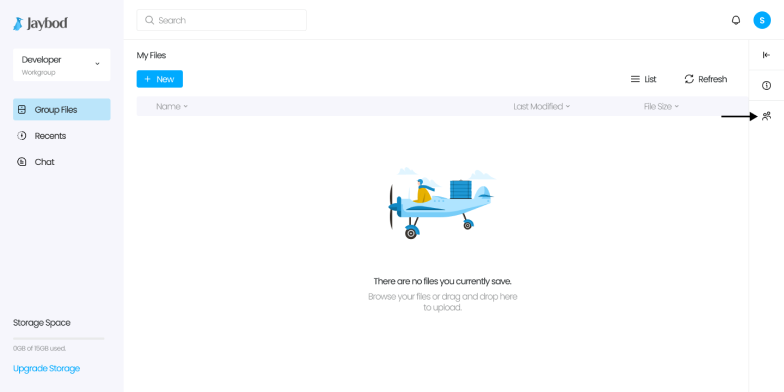
b. Click icon.

c. Click icon and ‘About’.


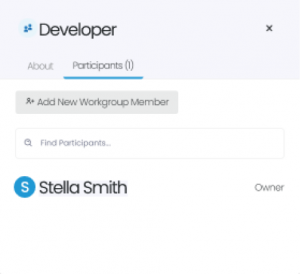
d. Click ‘Participant’.

e. Click ‘Add New Workgroup Member.’
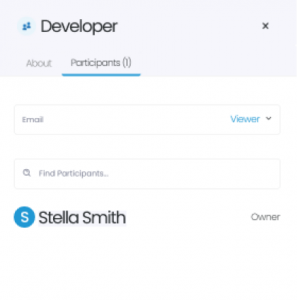
e. Enter email address to invite participants and click down arrow to change file access for recipient. Type Enter and click ‘Send Invitation’ afterward.
You can chat with participants in Workgroup. Chat will appear within 24 hours with basic plan.
Chat will keep appearing with professional, business, and premium plan.
a. Select your Workgroup you want to have a chat.

b. Go to ‘Chat’. Enter the message.

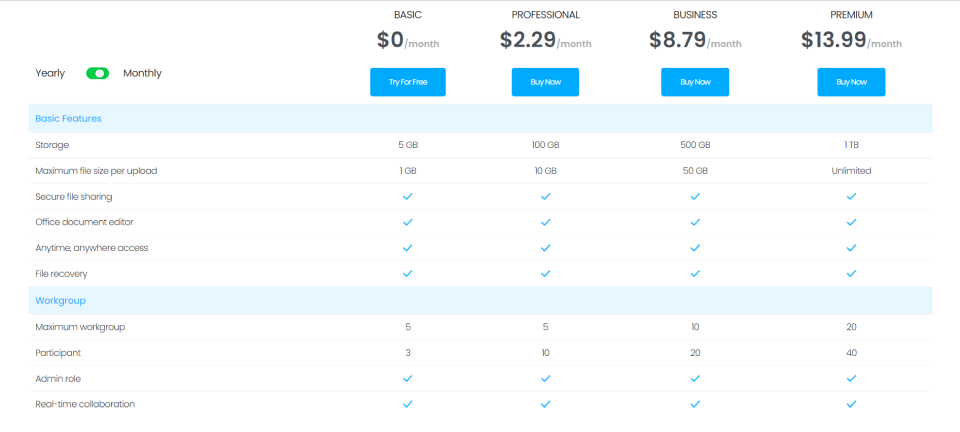
You can check your workgroup and participant capacity.
a. Click ‘upgrade storage’ button on lower left-hand corner of dashboard.

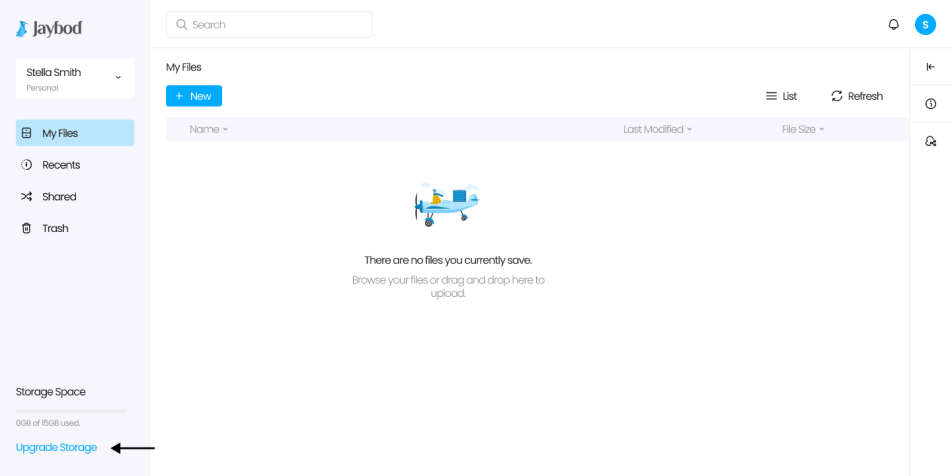
b. The following is the information of workgroup and participants capacity you will get based on plan you buy.